How To Click Good Travel Pictures
Quick Jumplinks to Navigate
Want To Click The Perfect Photos For Your Trip? Here’re The Tips That You Need!
Have you felt that frustration when you were excited to browse through the amazing photos you thought you had clicked, only to realise they came out all blurred and ugly? Well, we’ve seen many travelers go through this, and we decided to make sure that never happens to you.
Here are some quick tips to guide you towards better photography skills while traveling
1. Grid View
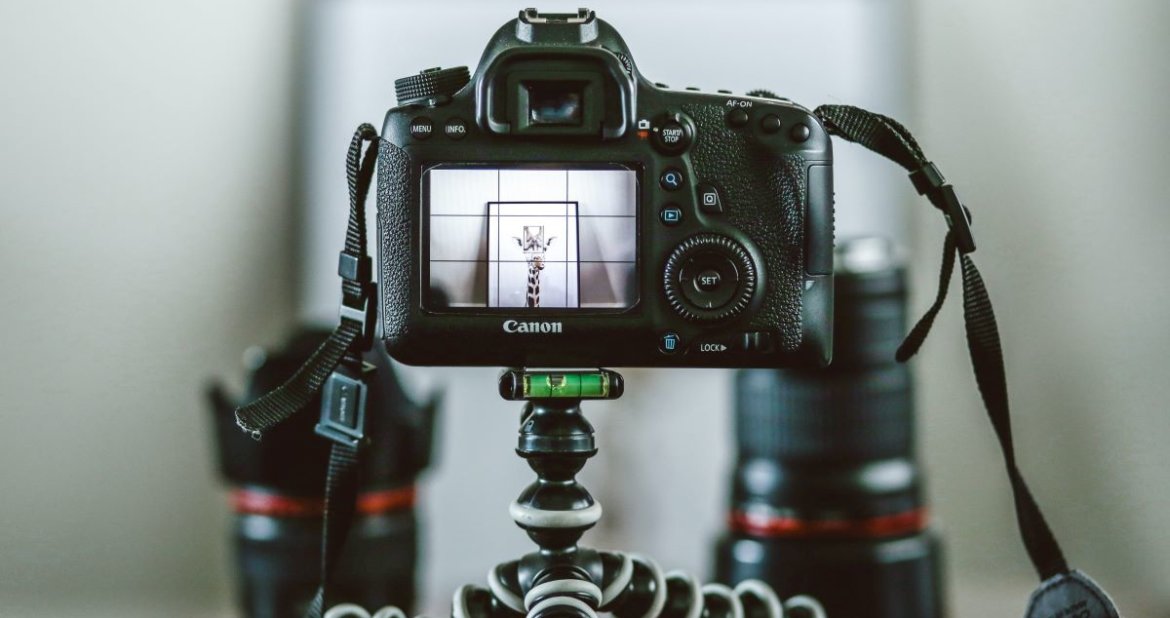
For capturing scenes that stand out the most, it is advisable to switch to the ‘grid’ view where shots split into numerous rectangular segments. Keep your subject as close as possible to the point where these lines meet.
For Android- Tap the ‘Menu’ button, choose settings; look for ‘show grid’ in viewfinder.
For iOS- Go to the ‘Photos & Camera’ in the main Settings app, and then toggle the ‘Grid’ switch to on.
2. Minimise Those ‘Cool’ Special Effect
Yes, it is tempting to solarise, or ‘sepia’ your images while capturing them but don’t overdo it. Save the original photos and you can edit them later and apply different filters as per your choice.
3. Stability
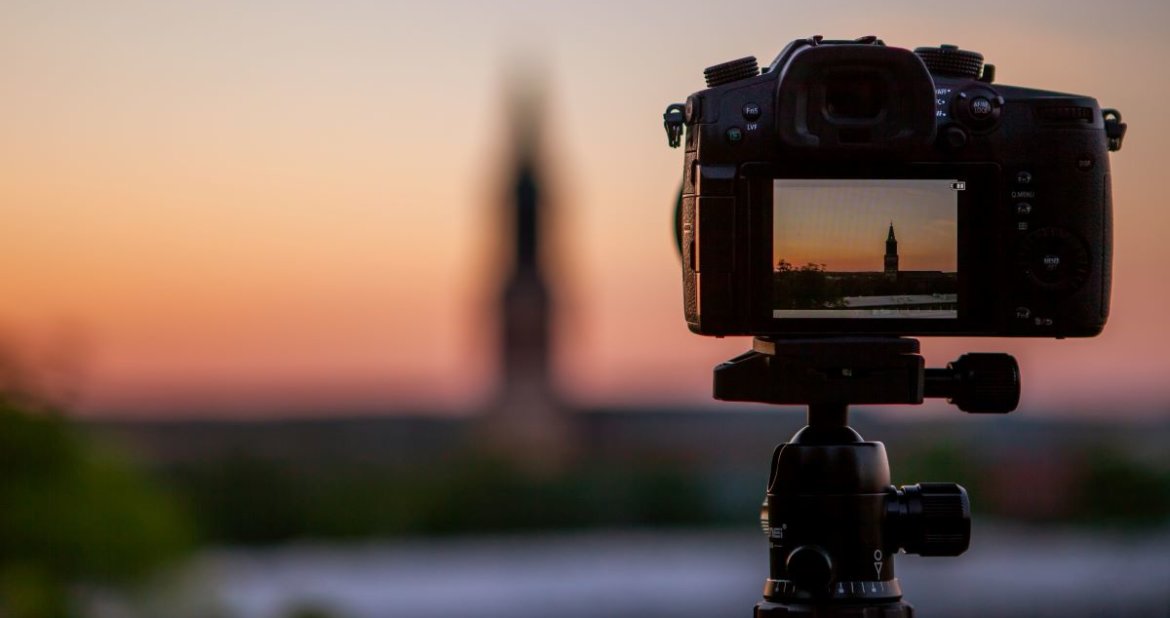
Additional support will do wonders for your photos. Use the tripod, table or mantlepiece, and use it as best as you can. You can buy mobile tripods if you want to get the best results. Self-timer in the camera apps can help too, letting you leave your phone upon support somewhere without having to get behind it.
4. Focus & Exposure

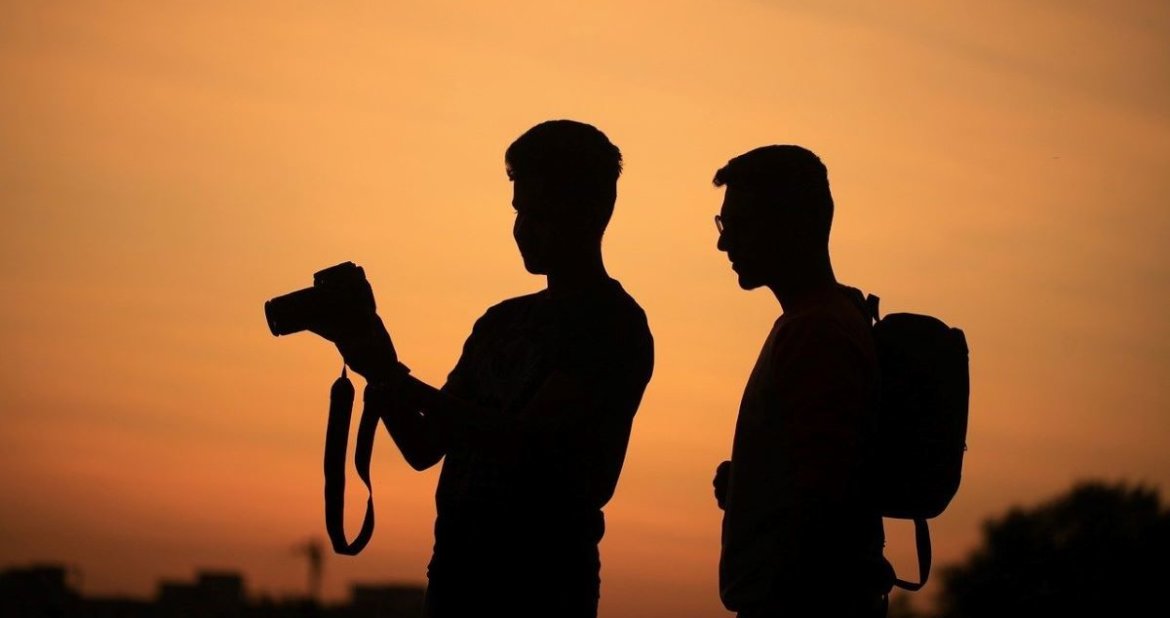
Tap anywhere on the screen to shift focus and exposure accordingly. The option to ‘lock’ focus or exposure will prevent your camera from changing the exposure while you’re taking shots. Activate the feature by tapping and long-pressing the screen.
5. Say ‘No’ To Digital Zoom
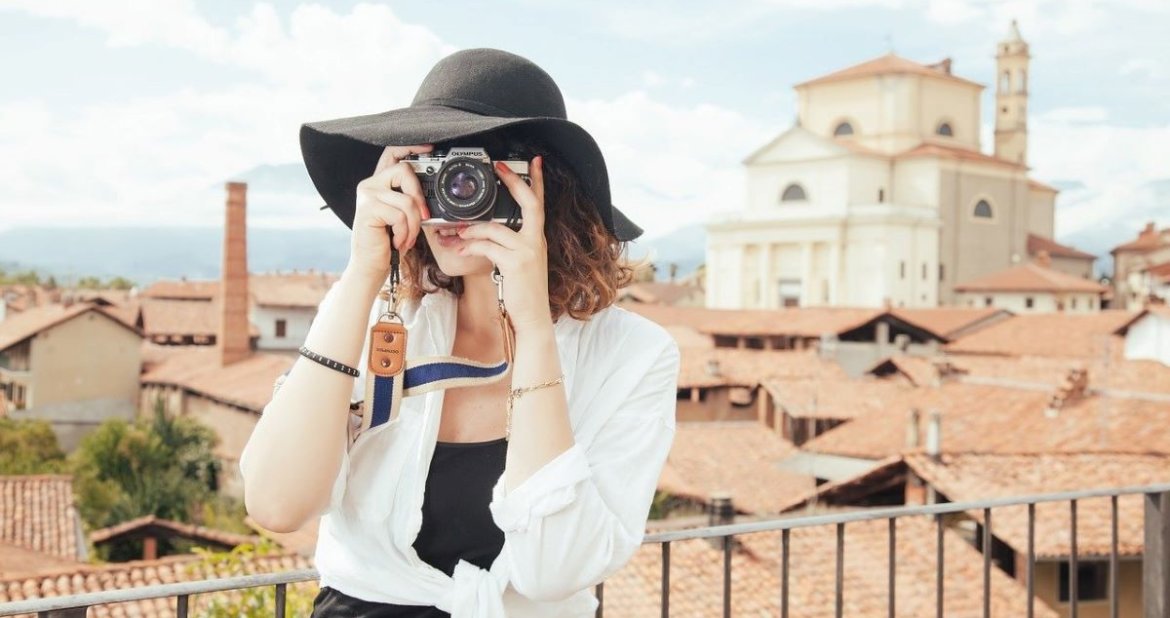
Digital zooming will turn your images grainy and pixelated. Keep the digital zoom to a minimum, if you can’t avoid it totally. Zoom in with your feet! This means, move as close to your subject as you can. You can also manually set the exposure and focus with your hands.
6. Use HDR
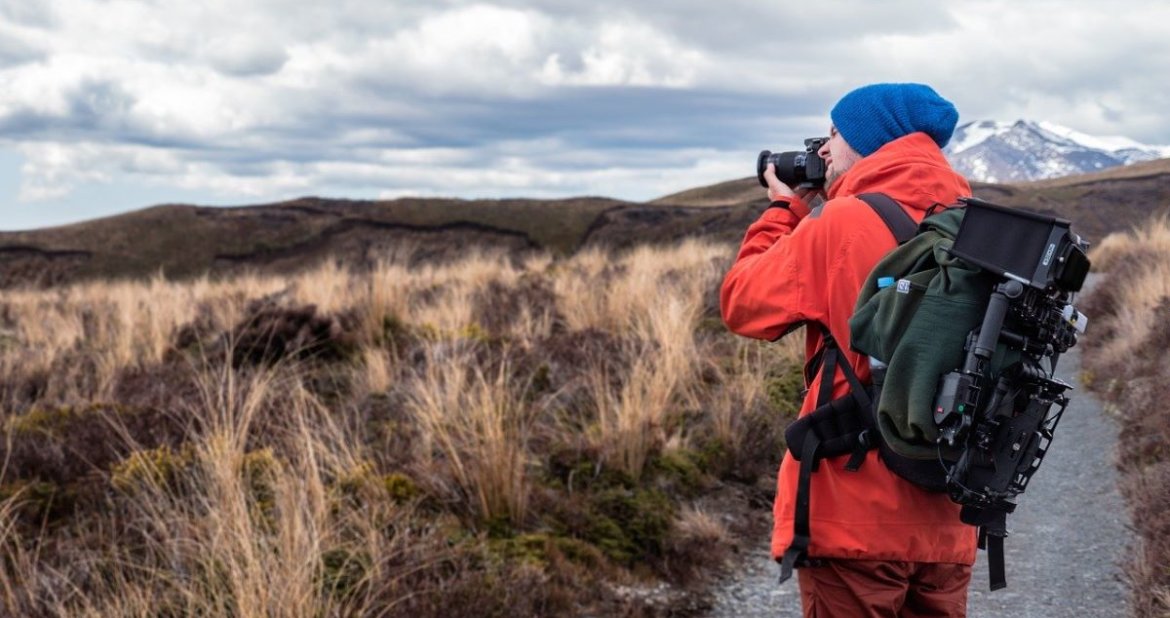
Latest versions of the cameras in your smartphones allow HDR mode, which essentially applies a high dynamic range filter to your photos, making them look much more professional. It also helps to improve the dynamic range by keeping the darkest and lightest parts of the photo in balance.
 7. Third Party Camera Apps
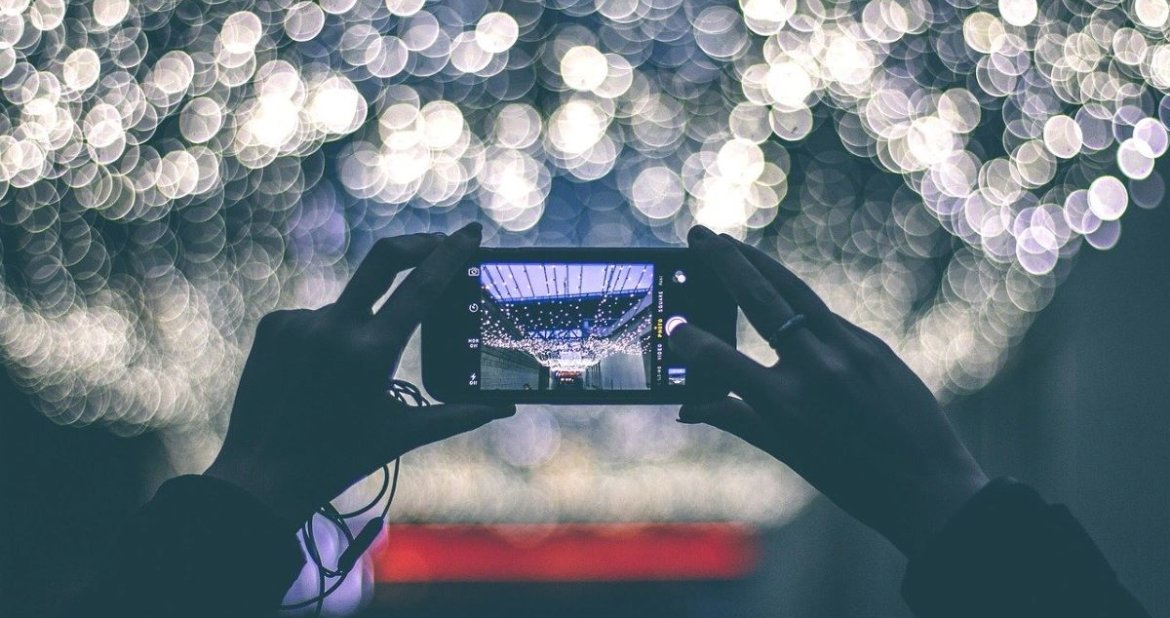
While the default camera in your smartphone may seem to be enough, there are many features it evidently lacks. Some of professional features are available to various third party camera apps that you can download.
8. Burst Mode
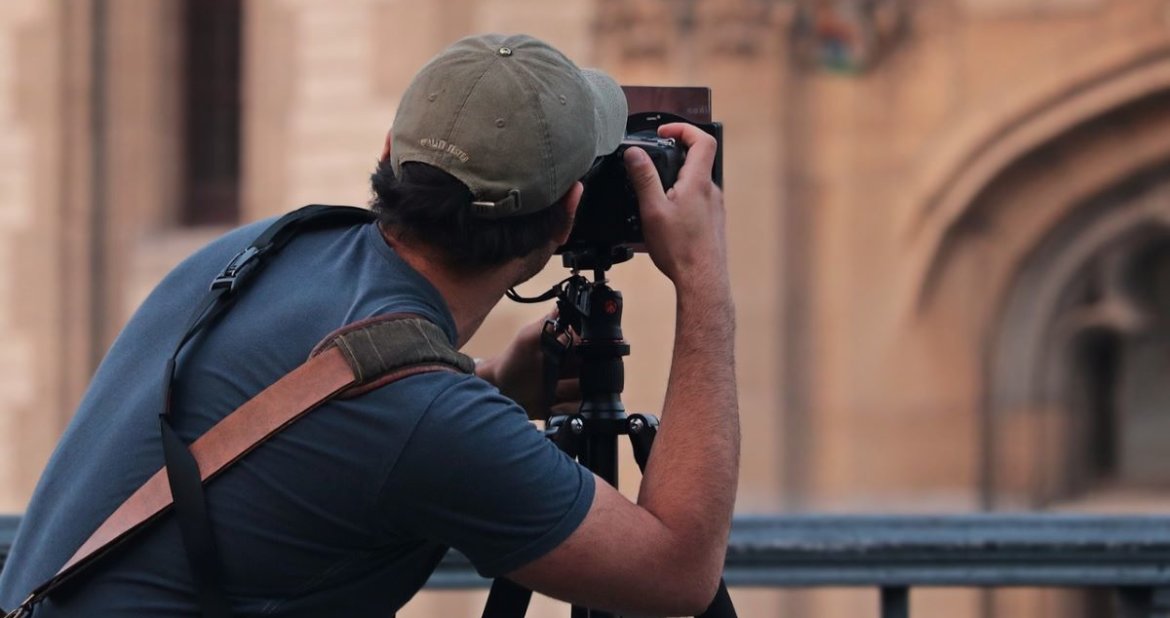
This mode lets you shoot several photos immediately, in one go! You can later choose the best one, and preferably delete the rest. Make the most of your smartphones.
9. Macro Mode
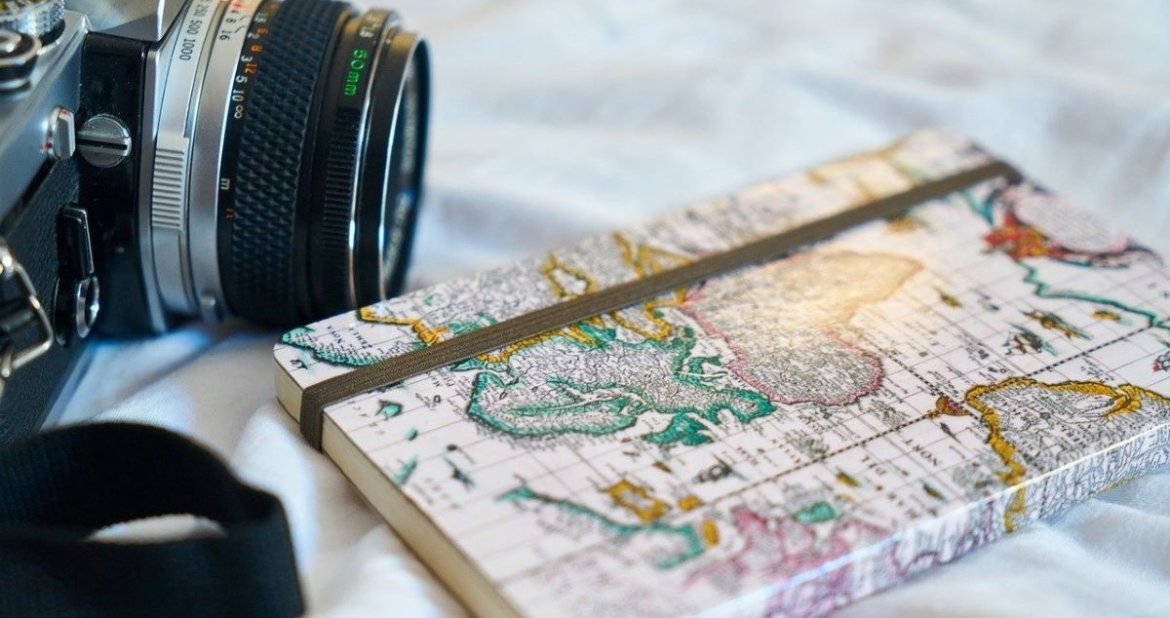
When trying to capture small plants, flowers, ferns, etc, increase the aperture if you have a DSLR. Go for the point-and-shoot by switching on the macro mode that blurs out the background, making your subject stand out amazingly.
10. Lighting
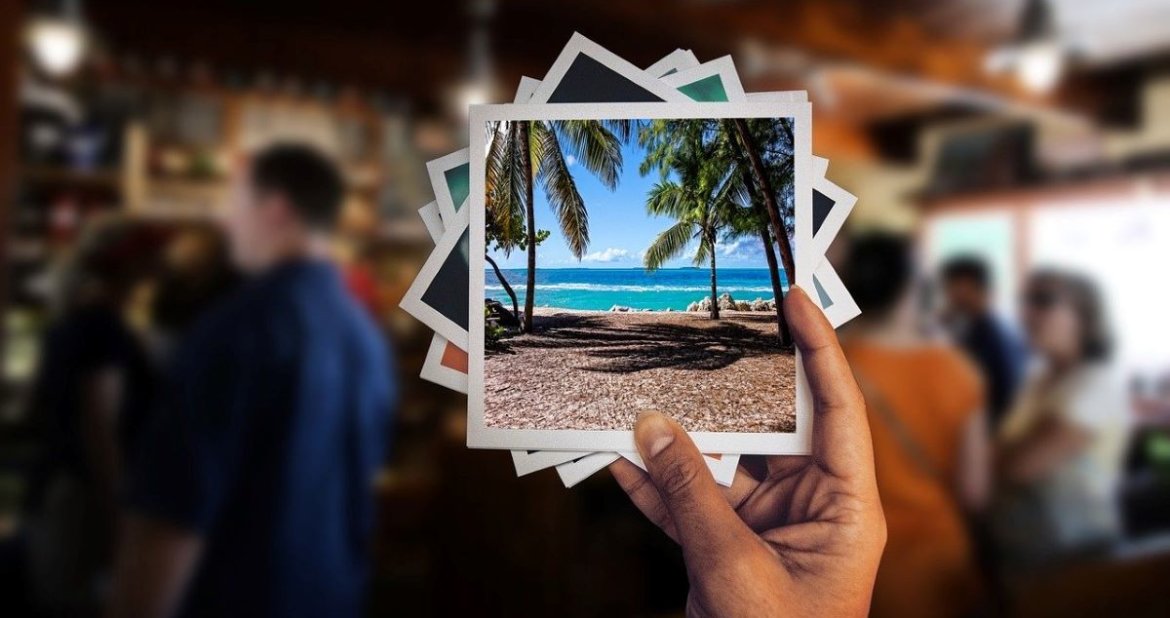
For clicking vibrant photos that look professional, lighting is key. Poor lighting can potentially ruin what could have been one of the best photos in your travelogue.
Try to find spots that have ample of sunlight. Sunlight is your best friend when it comes to photography or videography. This is exactly why photos of sunsets and sunrises look superbly beautiful. Try to capture the way sunrays break through canopies of clouds, and leaves to greet the earth. We promise you it’ll make for one of the most breathtaking pictures.
11. Play With The Manual Mode
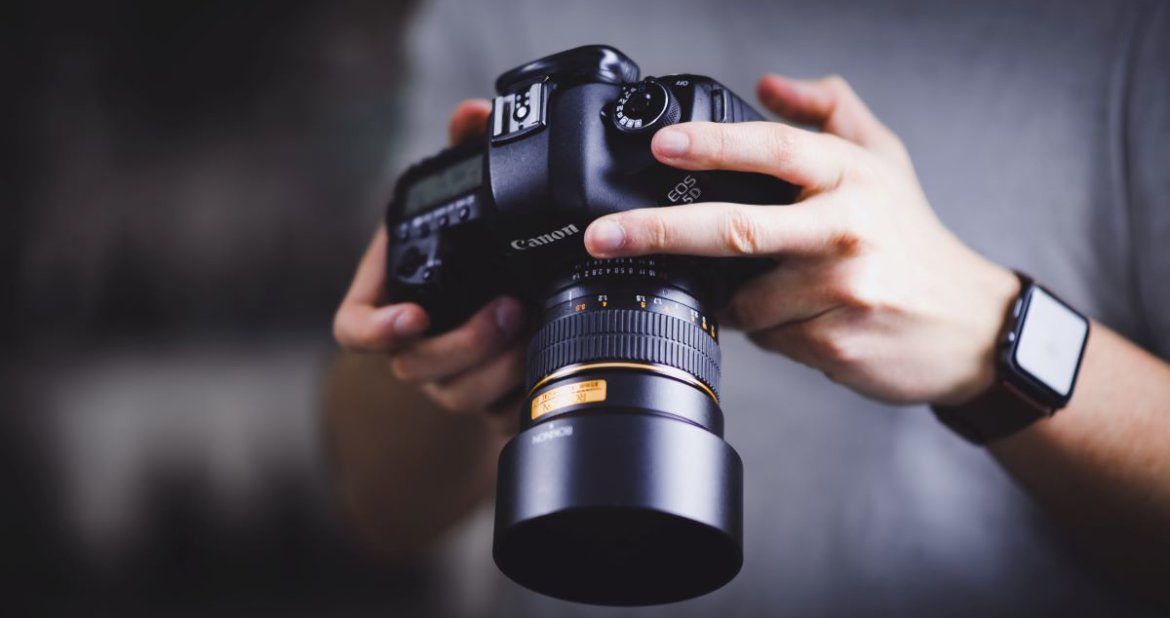
While the ‘auto’ mode is great for beginners, it is time to take your skills a notch upwards. Manual mode has a customized mode to cater to every setting- indoors, overcast, sunny, and more. Also try experimenting with the ISO and Shutter speed.
It decides how much motion blur and grain is incorporated in the images. Anything above ISO 800 tends to move your photos towards grainy textures.
